Wallets
Environments and wallets
An environment separates staging and production work. Each environment can contain multiple wallets, while each wallet belongs to one environment.
Start with a staging environment so you can exercise the integration with no real-world value. Use a separate production environment and credentials when you are ready for live payments.
Development wallet options have distinct purposes:
- Mutinynet Bitcoin: Use for Bitcoin-backed implementations, whether node-backed Bitcoin or credit-backed Bitcoin.
- Mutinynet USD: Use for USD line-of-credit testing. Payments move over Bitcoin or Lightning while the wallet is denominated in USD.
- Voltage Cash: Use only for experimental stablecoin testing. It is not currently live for production use because the intended Tether-backed asset has not yet been minted.
Create a staging wallet
- From the team overview, select New Environment.
- Name the environment, such as Staging, and select Create.
- Open the environment and select Add New Wallet.
- Name the wallet and select Continue.
- Keep Development selected and choose the wallet option that matches the implementation described above.
- Select Create.
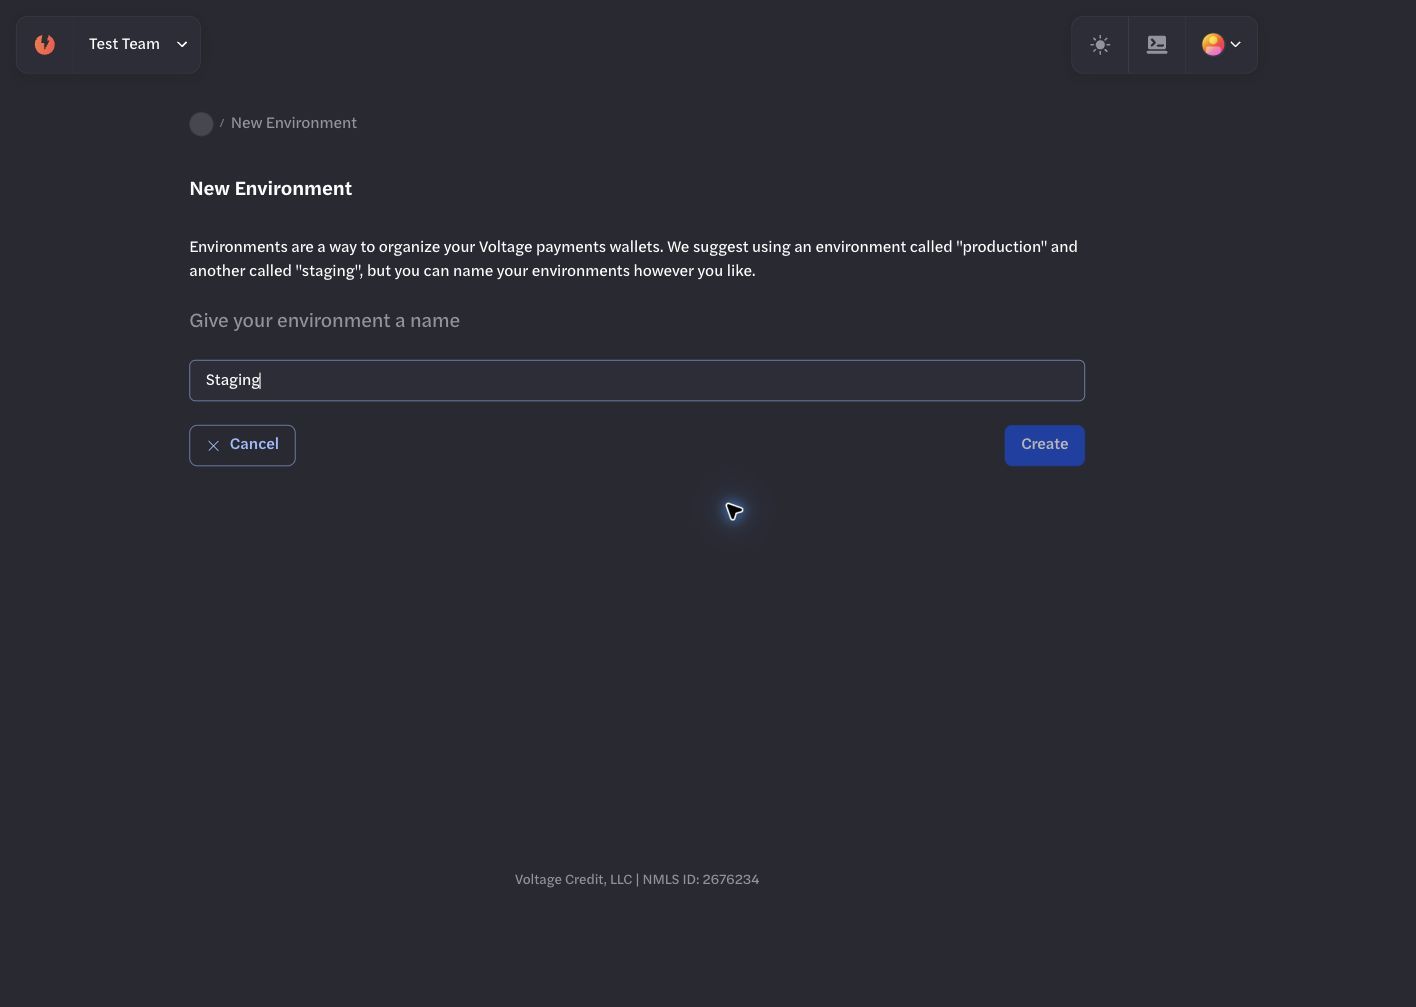
Create a dedicated staging environment before adding a Development wallet.
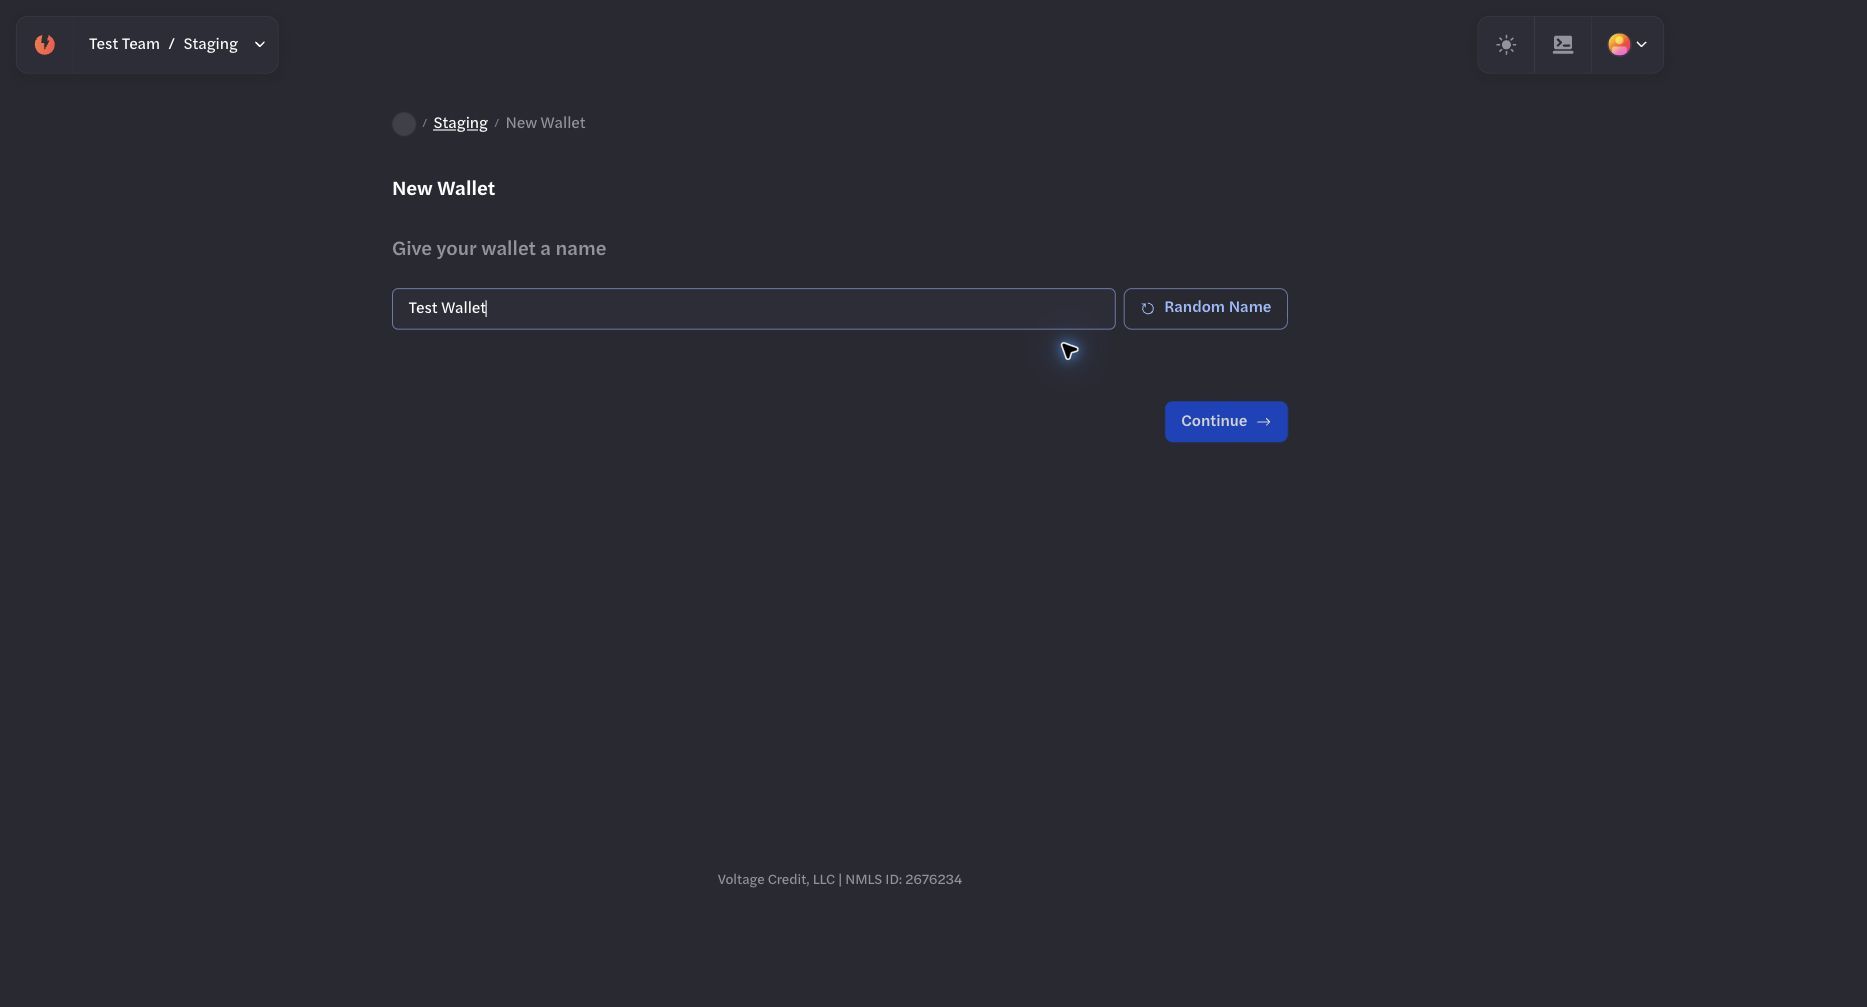
Use a wallet name that identifies its intended test workflow.
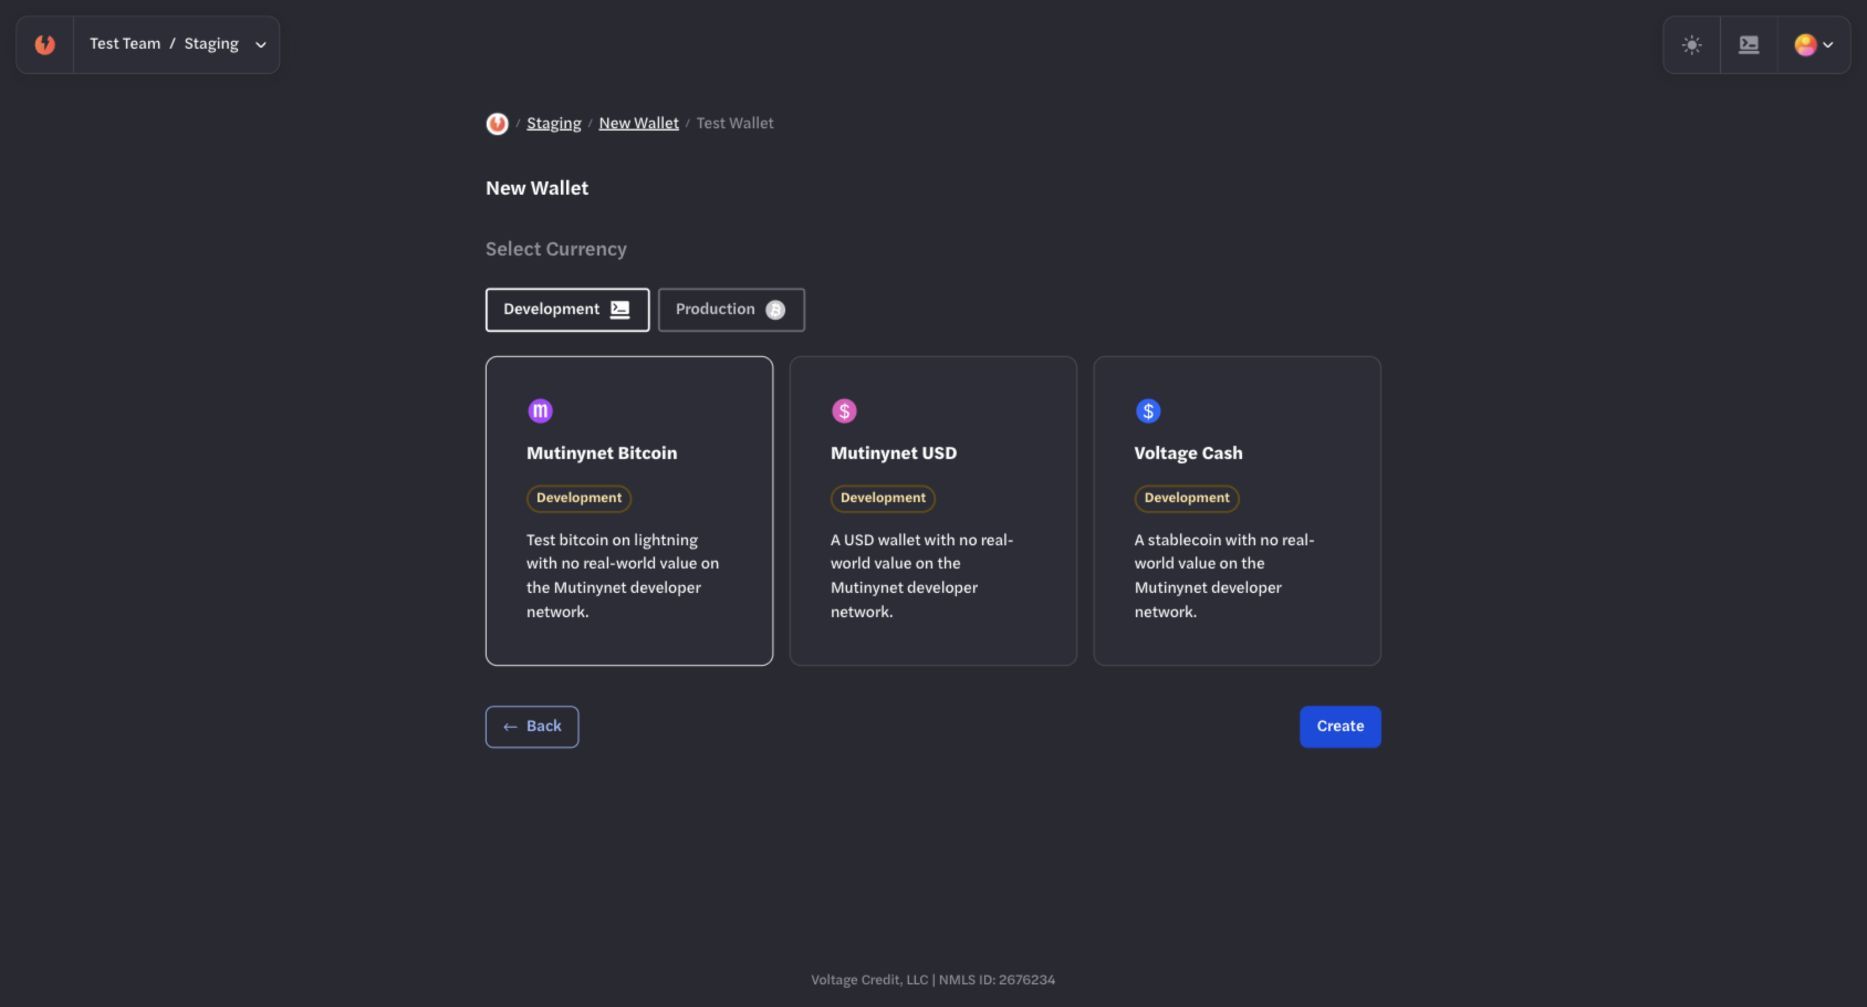
Choose Mutinynet Bitcoin for Bitcoin-backed tests, Mutinynet USD for USD line-of-credit tests, or Voltage Cash only for experimental stablecoin testing.
Wallet provisioning can take time. Wait until the wallet overview loads before using its actions or copying identifiers.
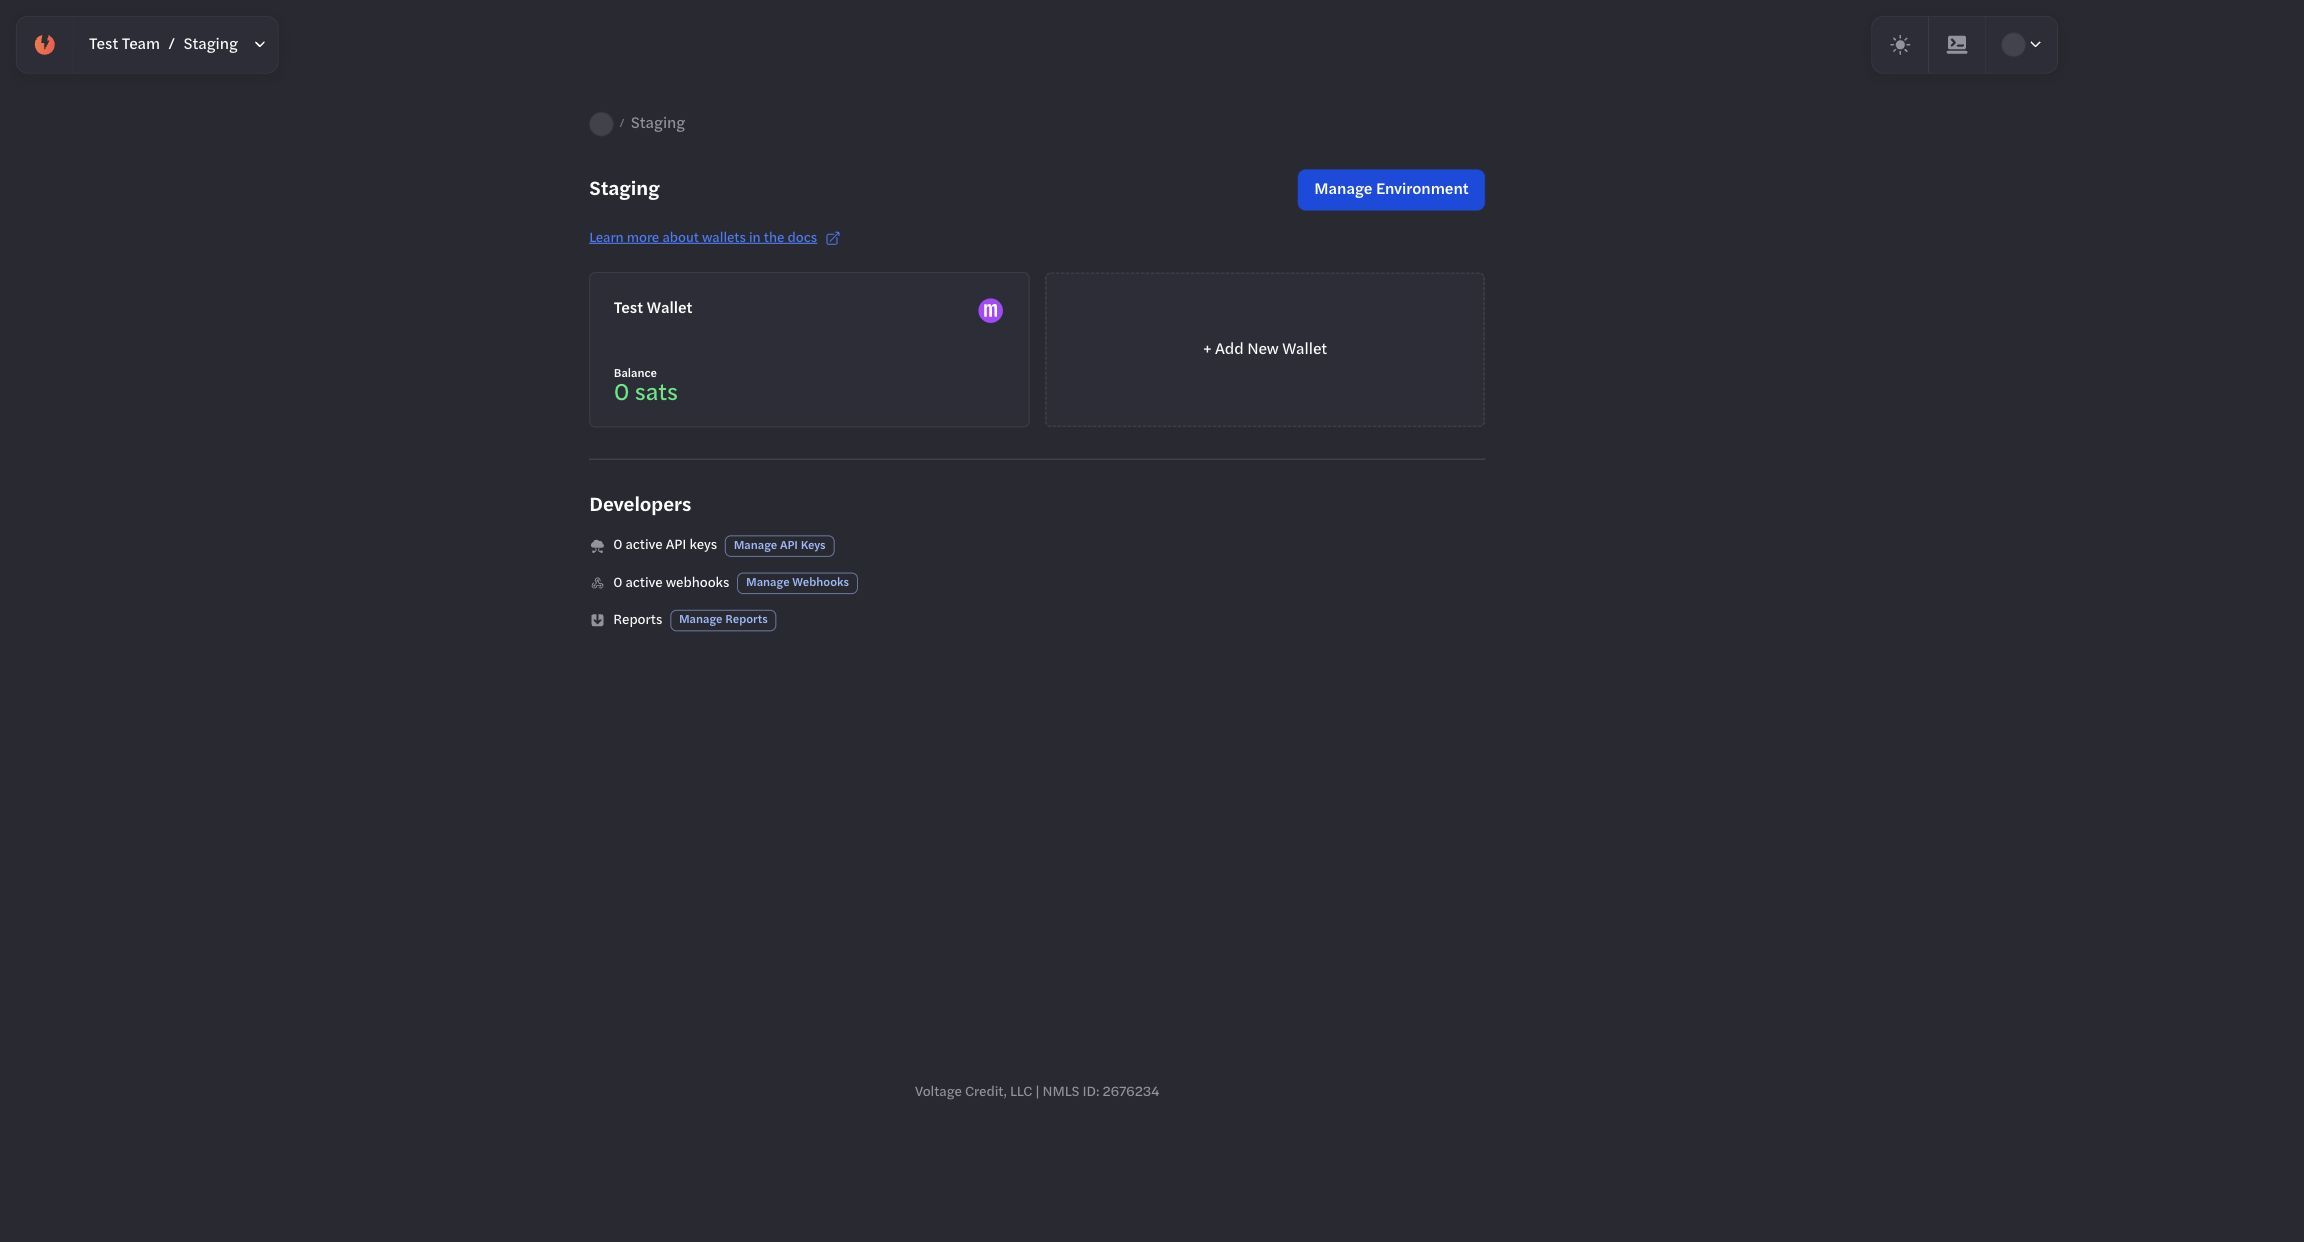
Confirm the wallet is available in the intended environment before using it.
Use the wallet dashboard
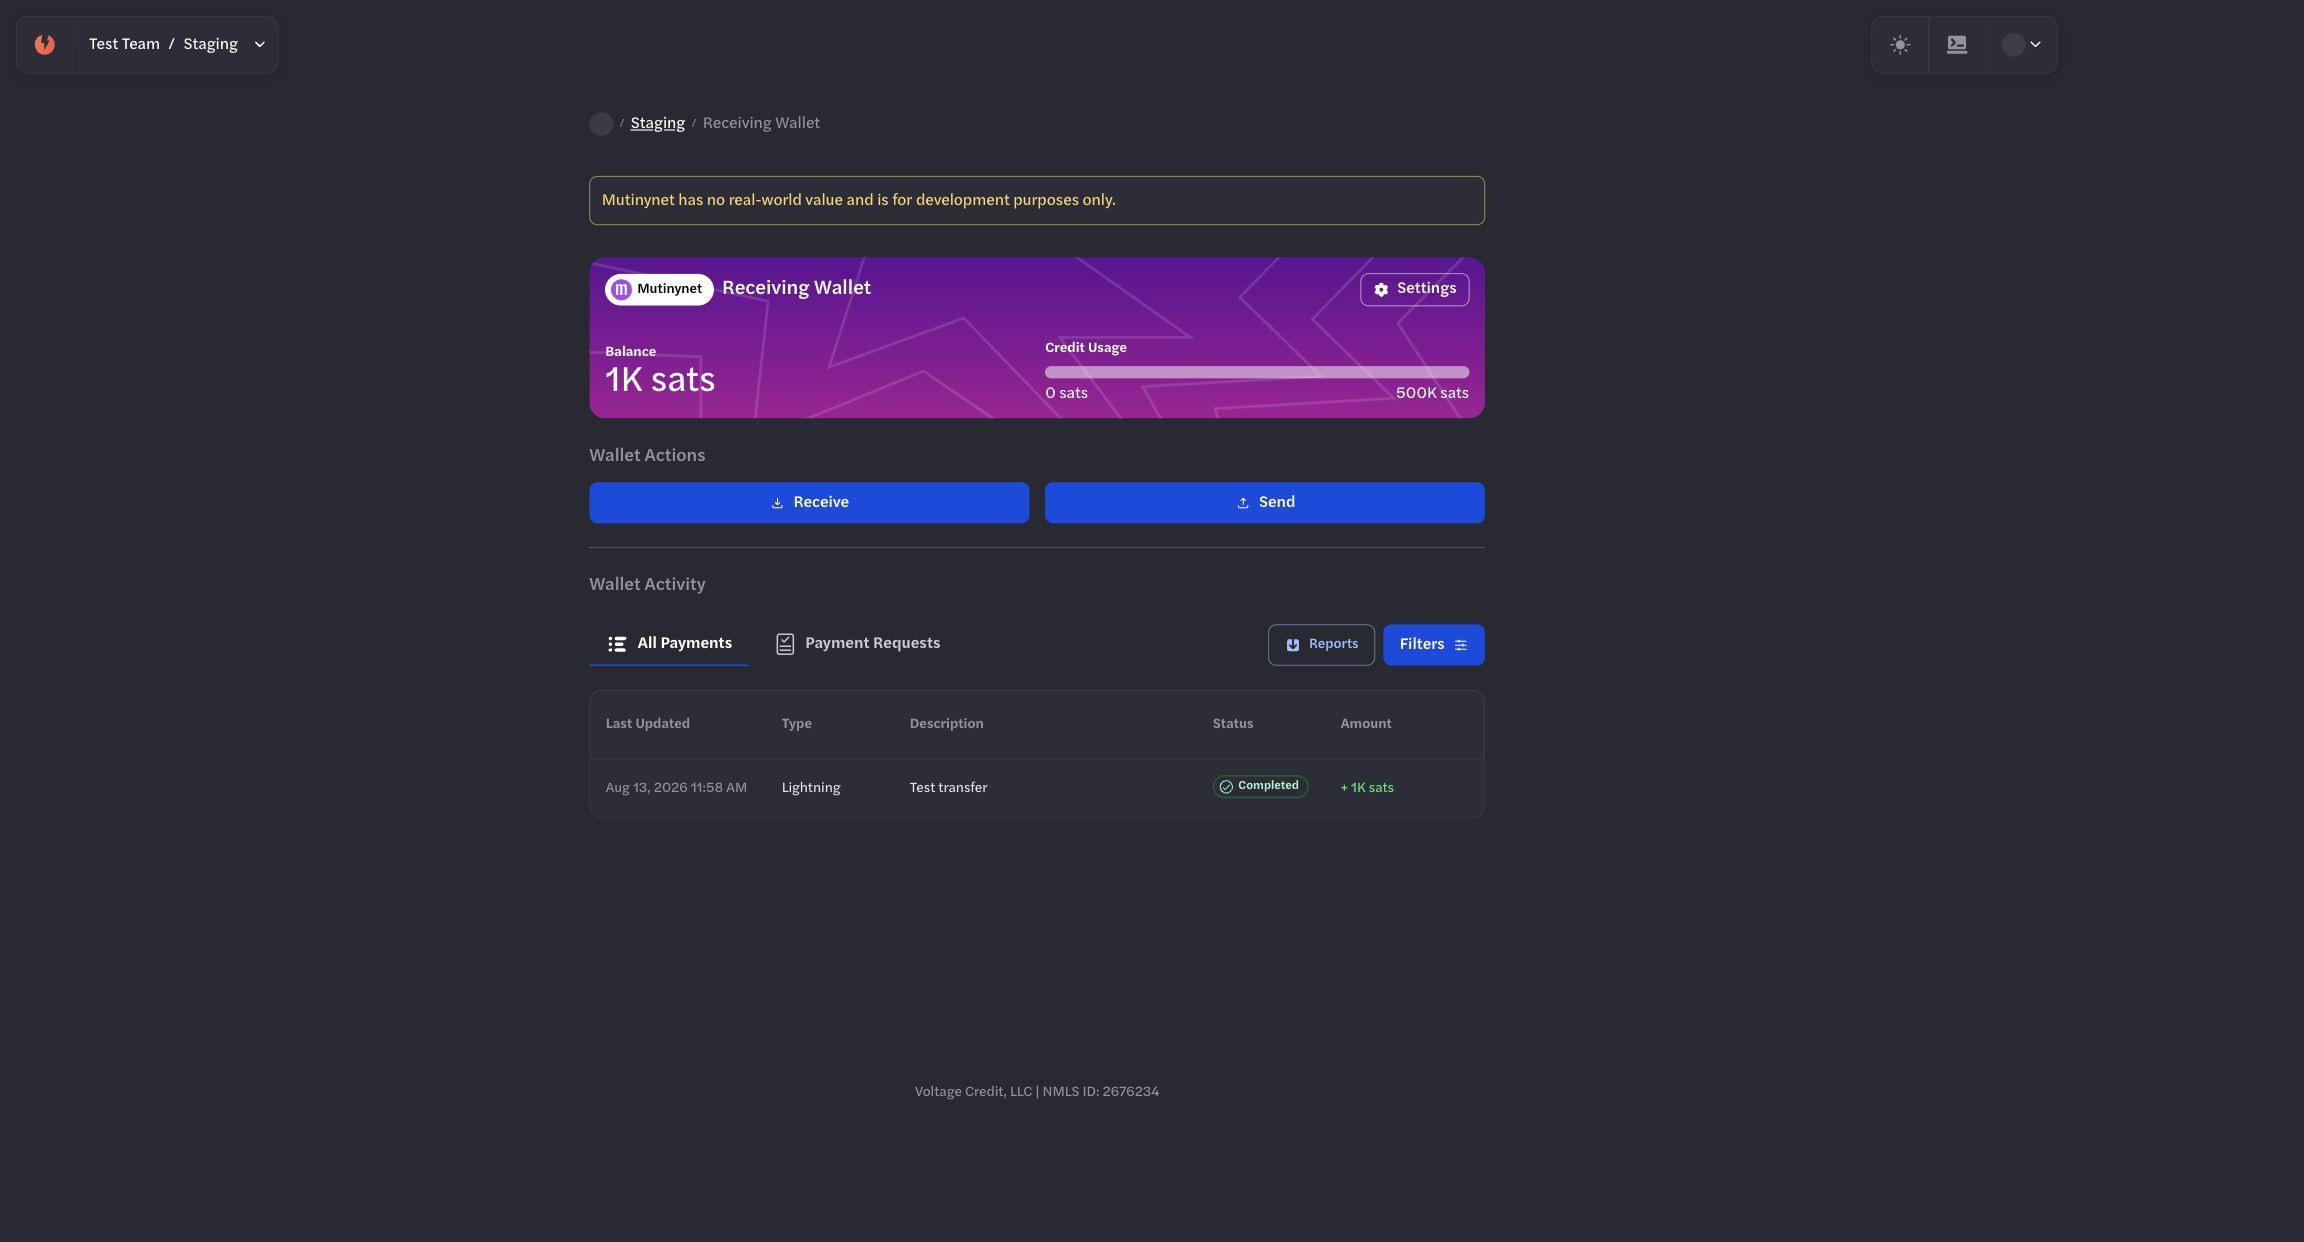
The wallet overview shows the wallet network, balance, test-credit usage, payment actions, and activity.
To receive through the UI:
- Select Receive.
- Enter the amount and optional memo.
- Choose Lightning or On-Chain when available.
- Select Create Payment Request.
- Share the generated request only through an appropriate test workflow.
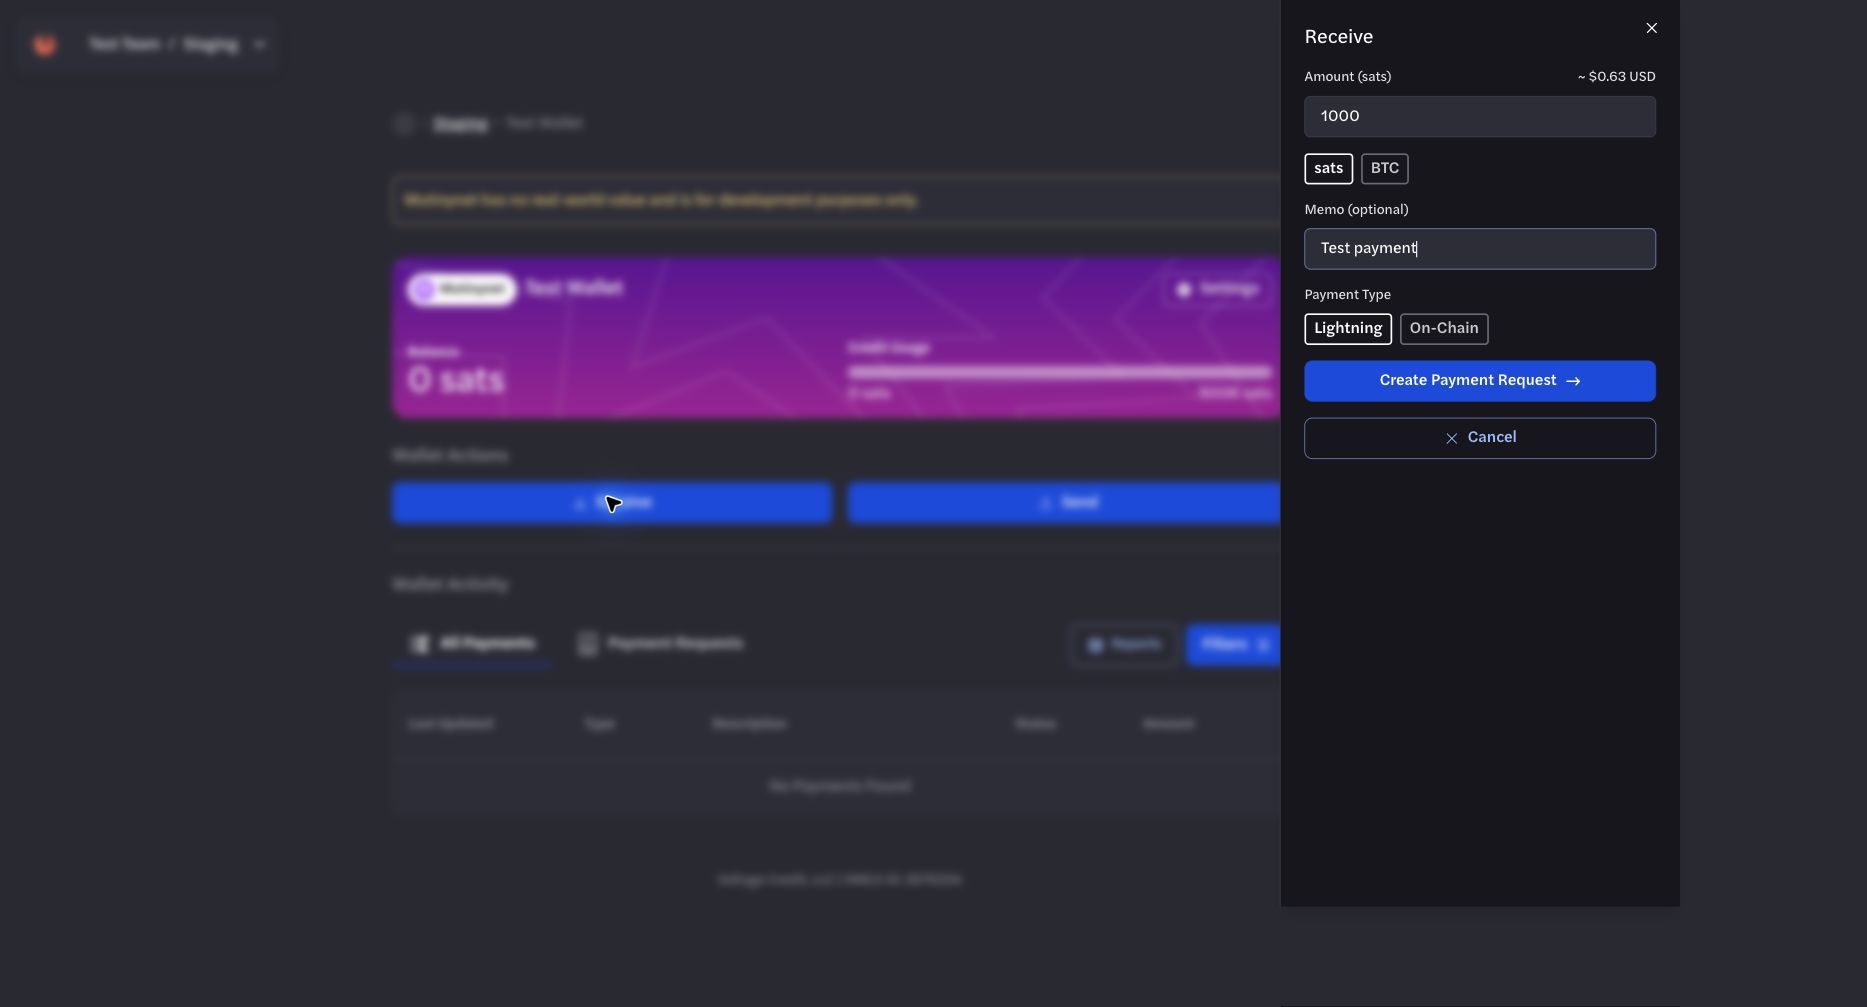
Enter a test amount and optional memo, then create the payment request.
To send through the UI, select Send, enter a Lightning invoice, and review the payment before submitting it.
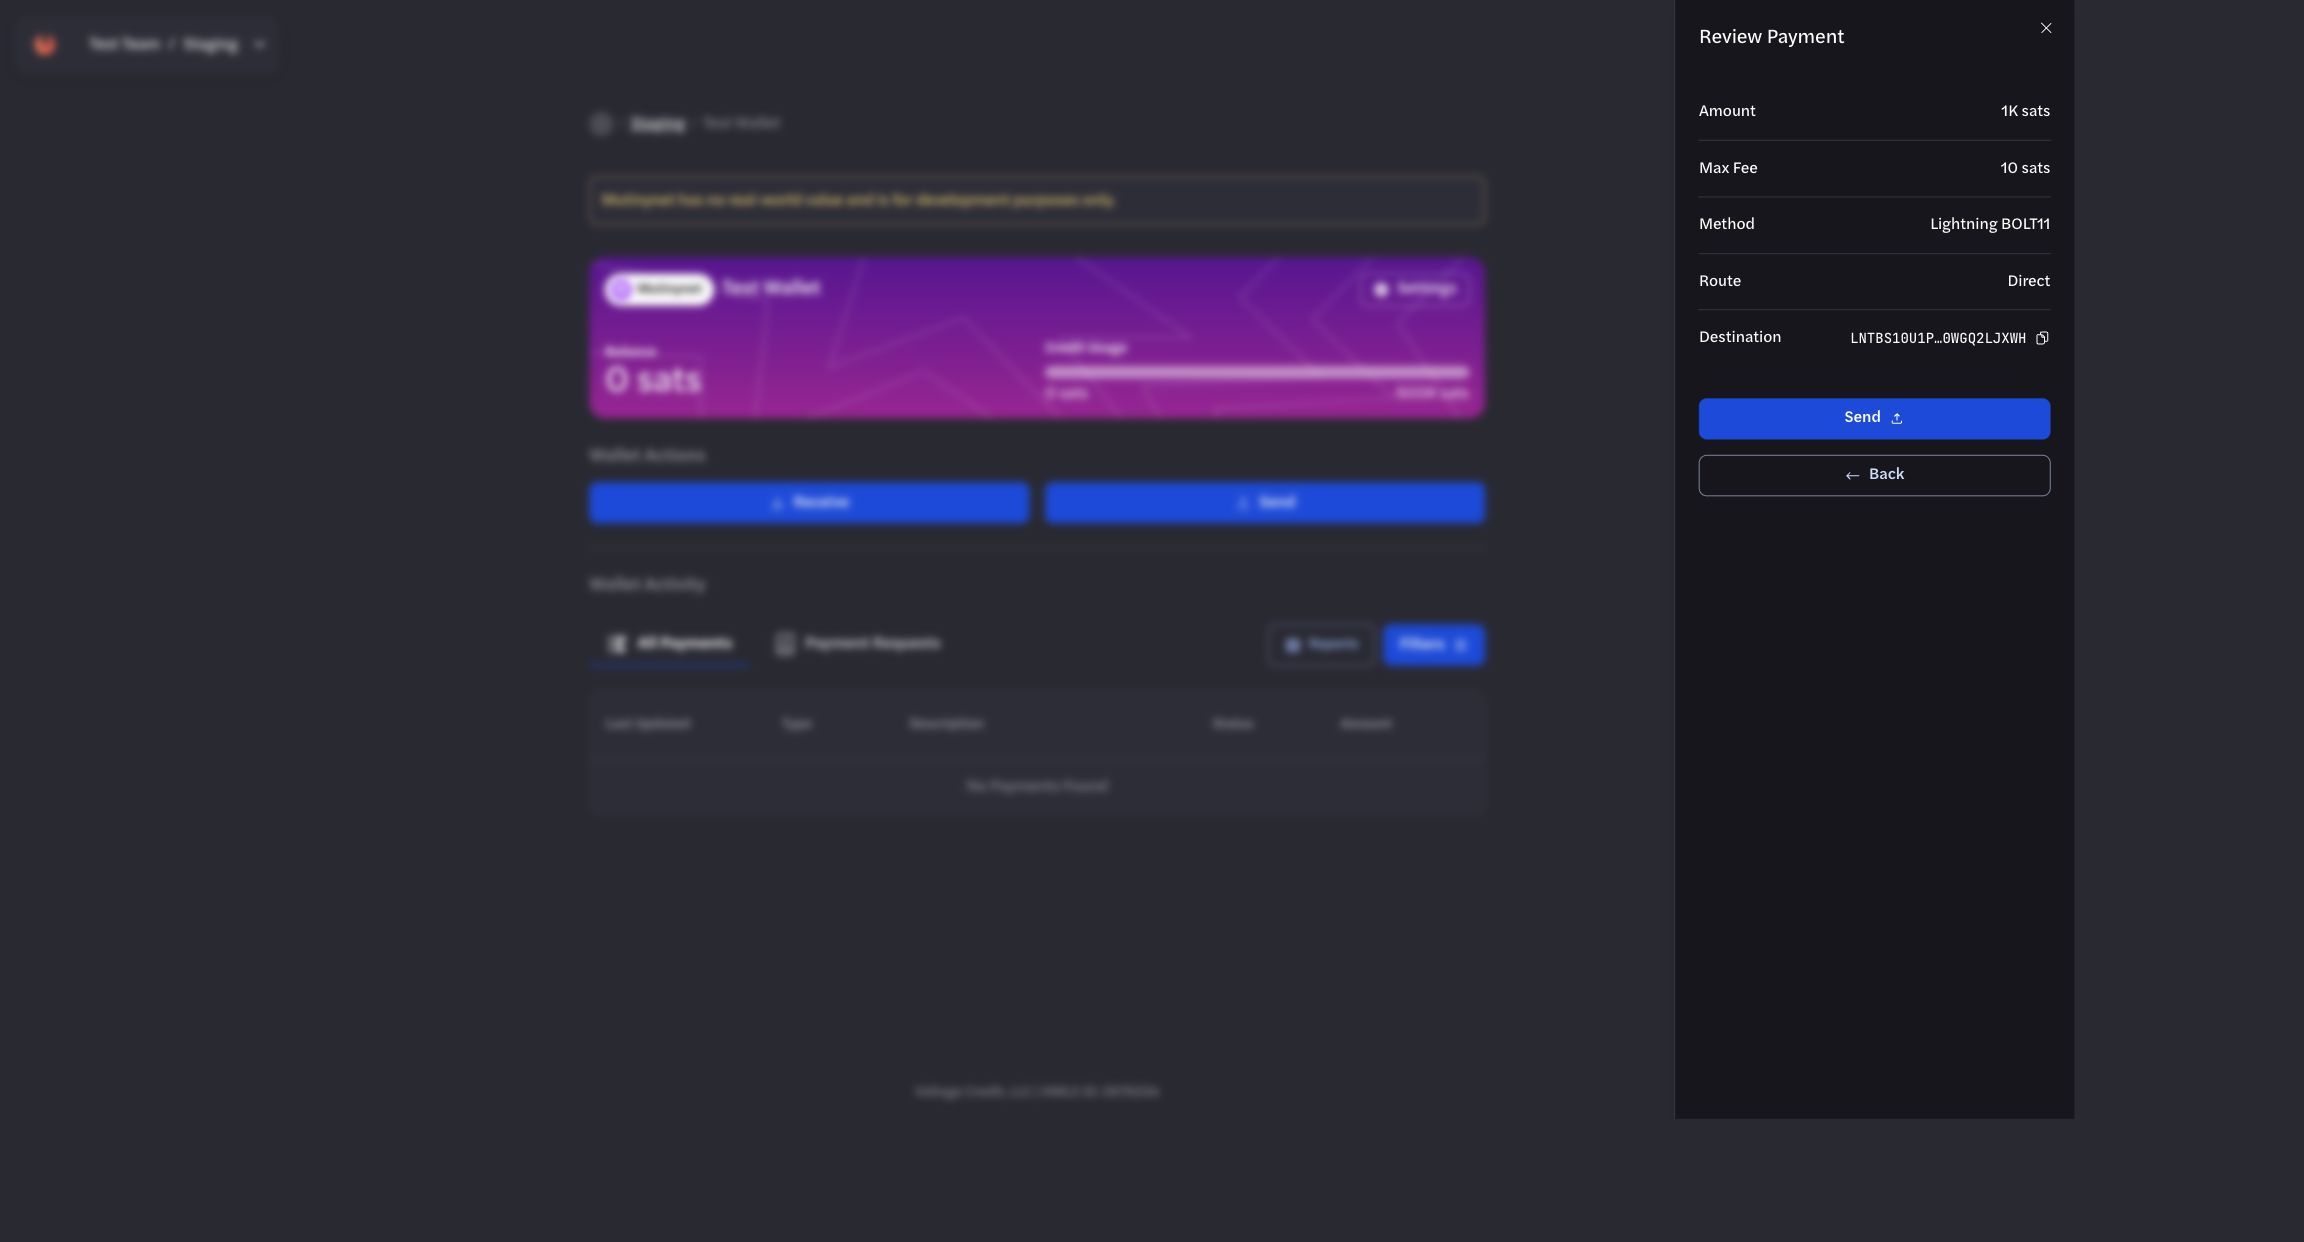
Review the amount, maximum fee, method, route, and destination before sending.
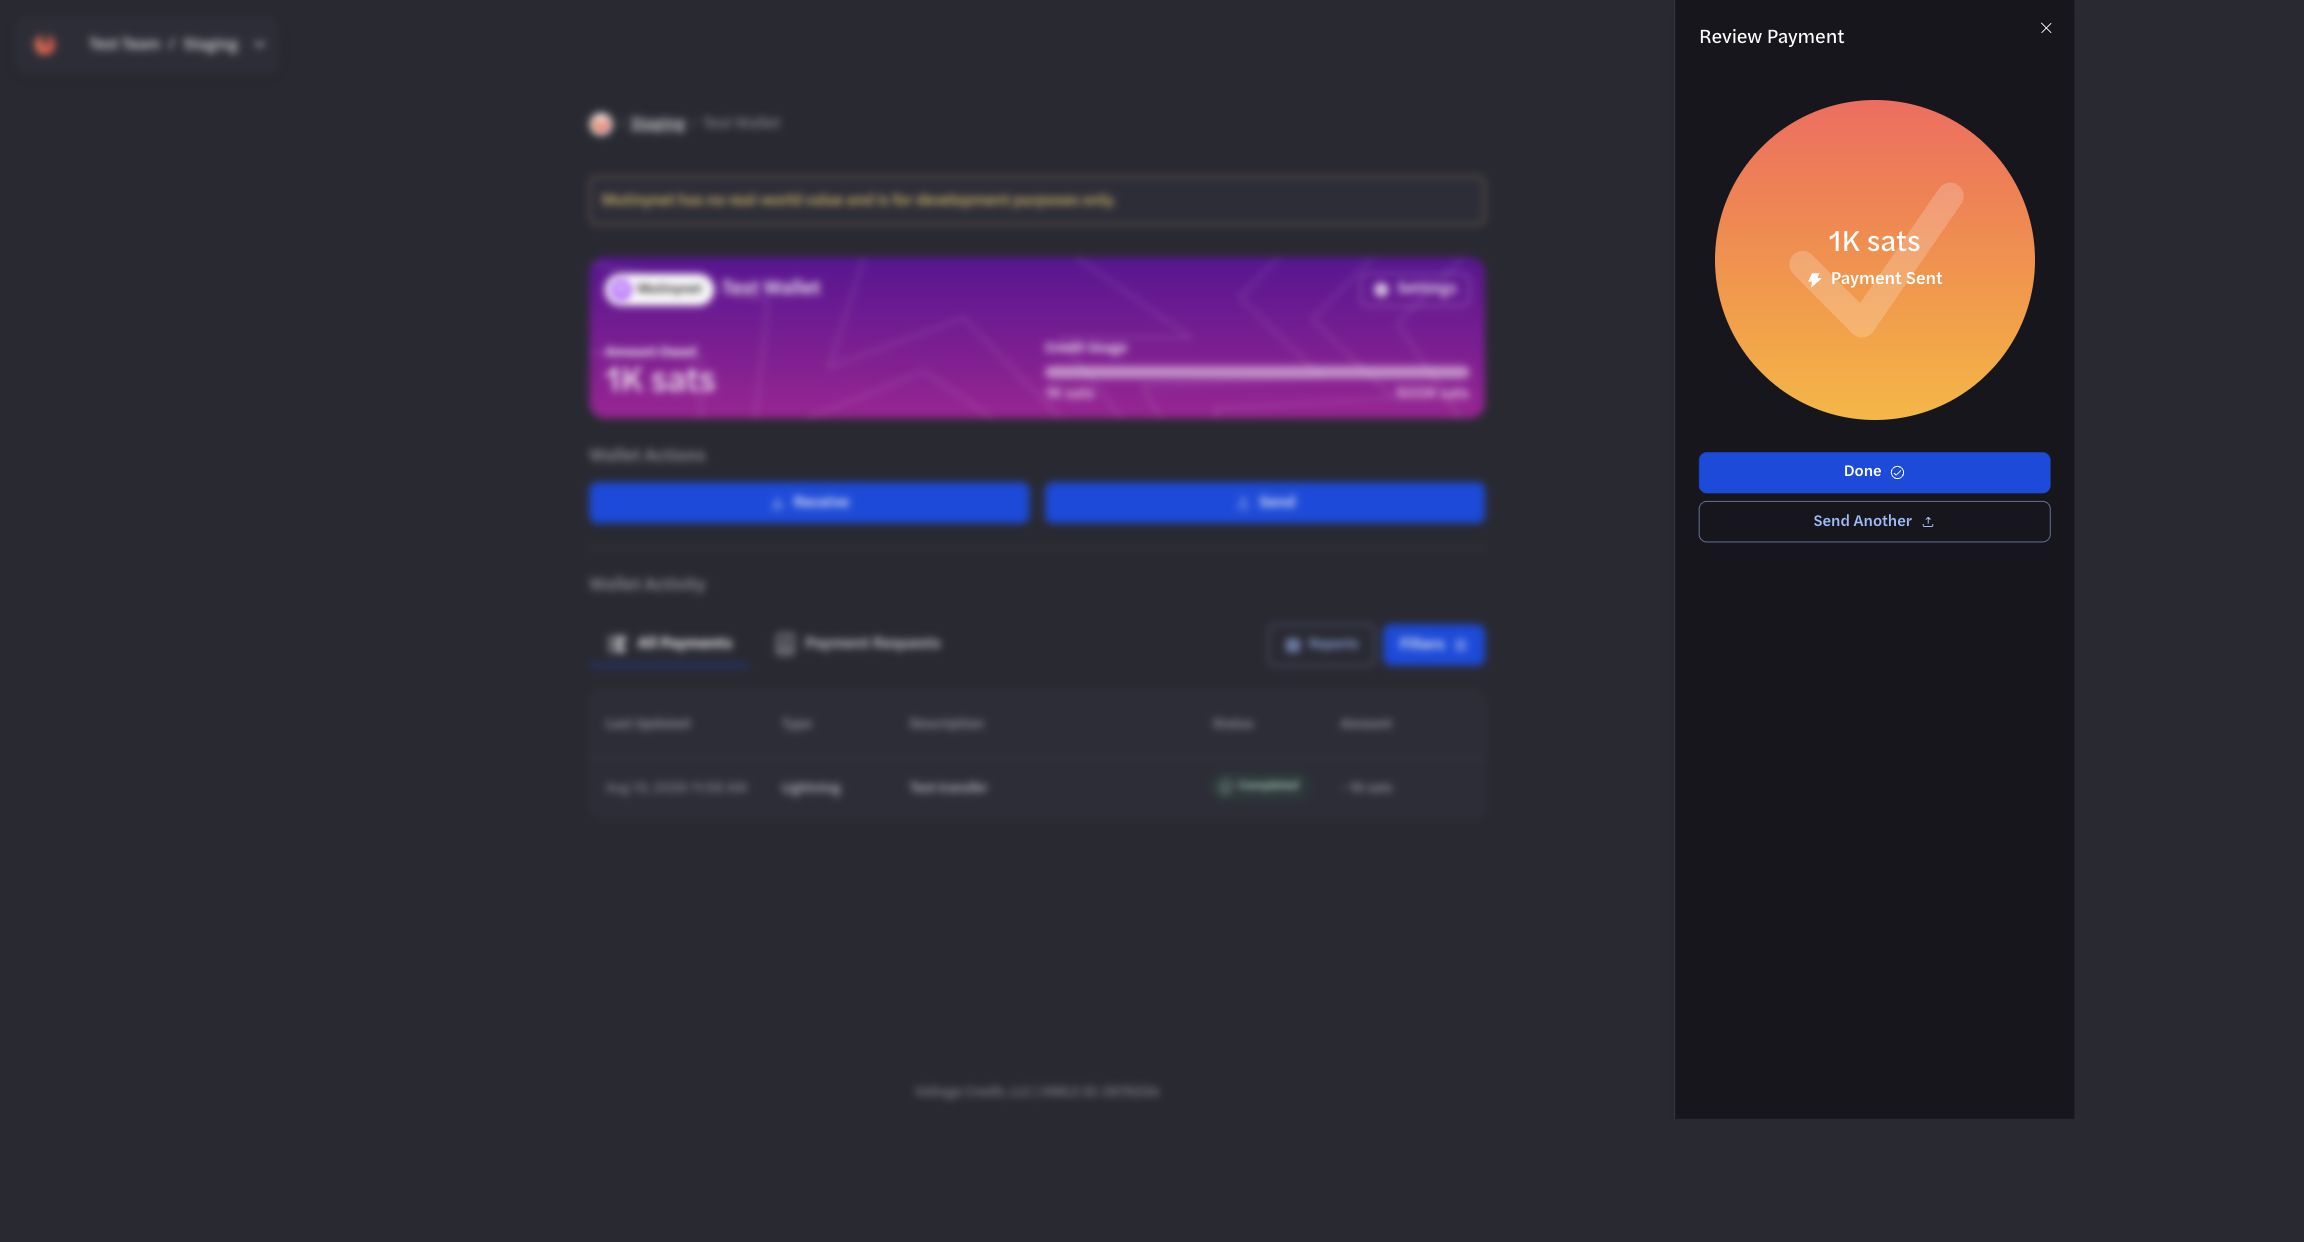
Wait for a terminal status instead of treating submission as completion.
Use All Payments and Payment Requests to review current status and history. See SendingSending, ReceivingReceiving, and Staging EnvironmentStaging Environment for API and testing guidance.
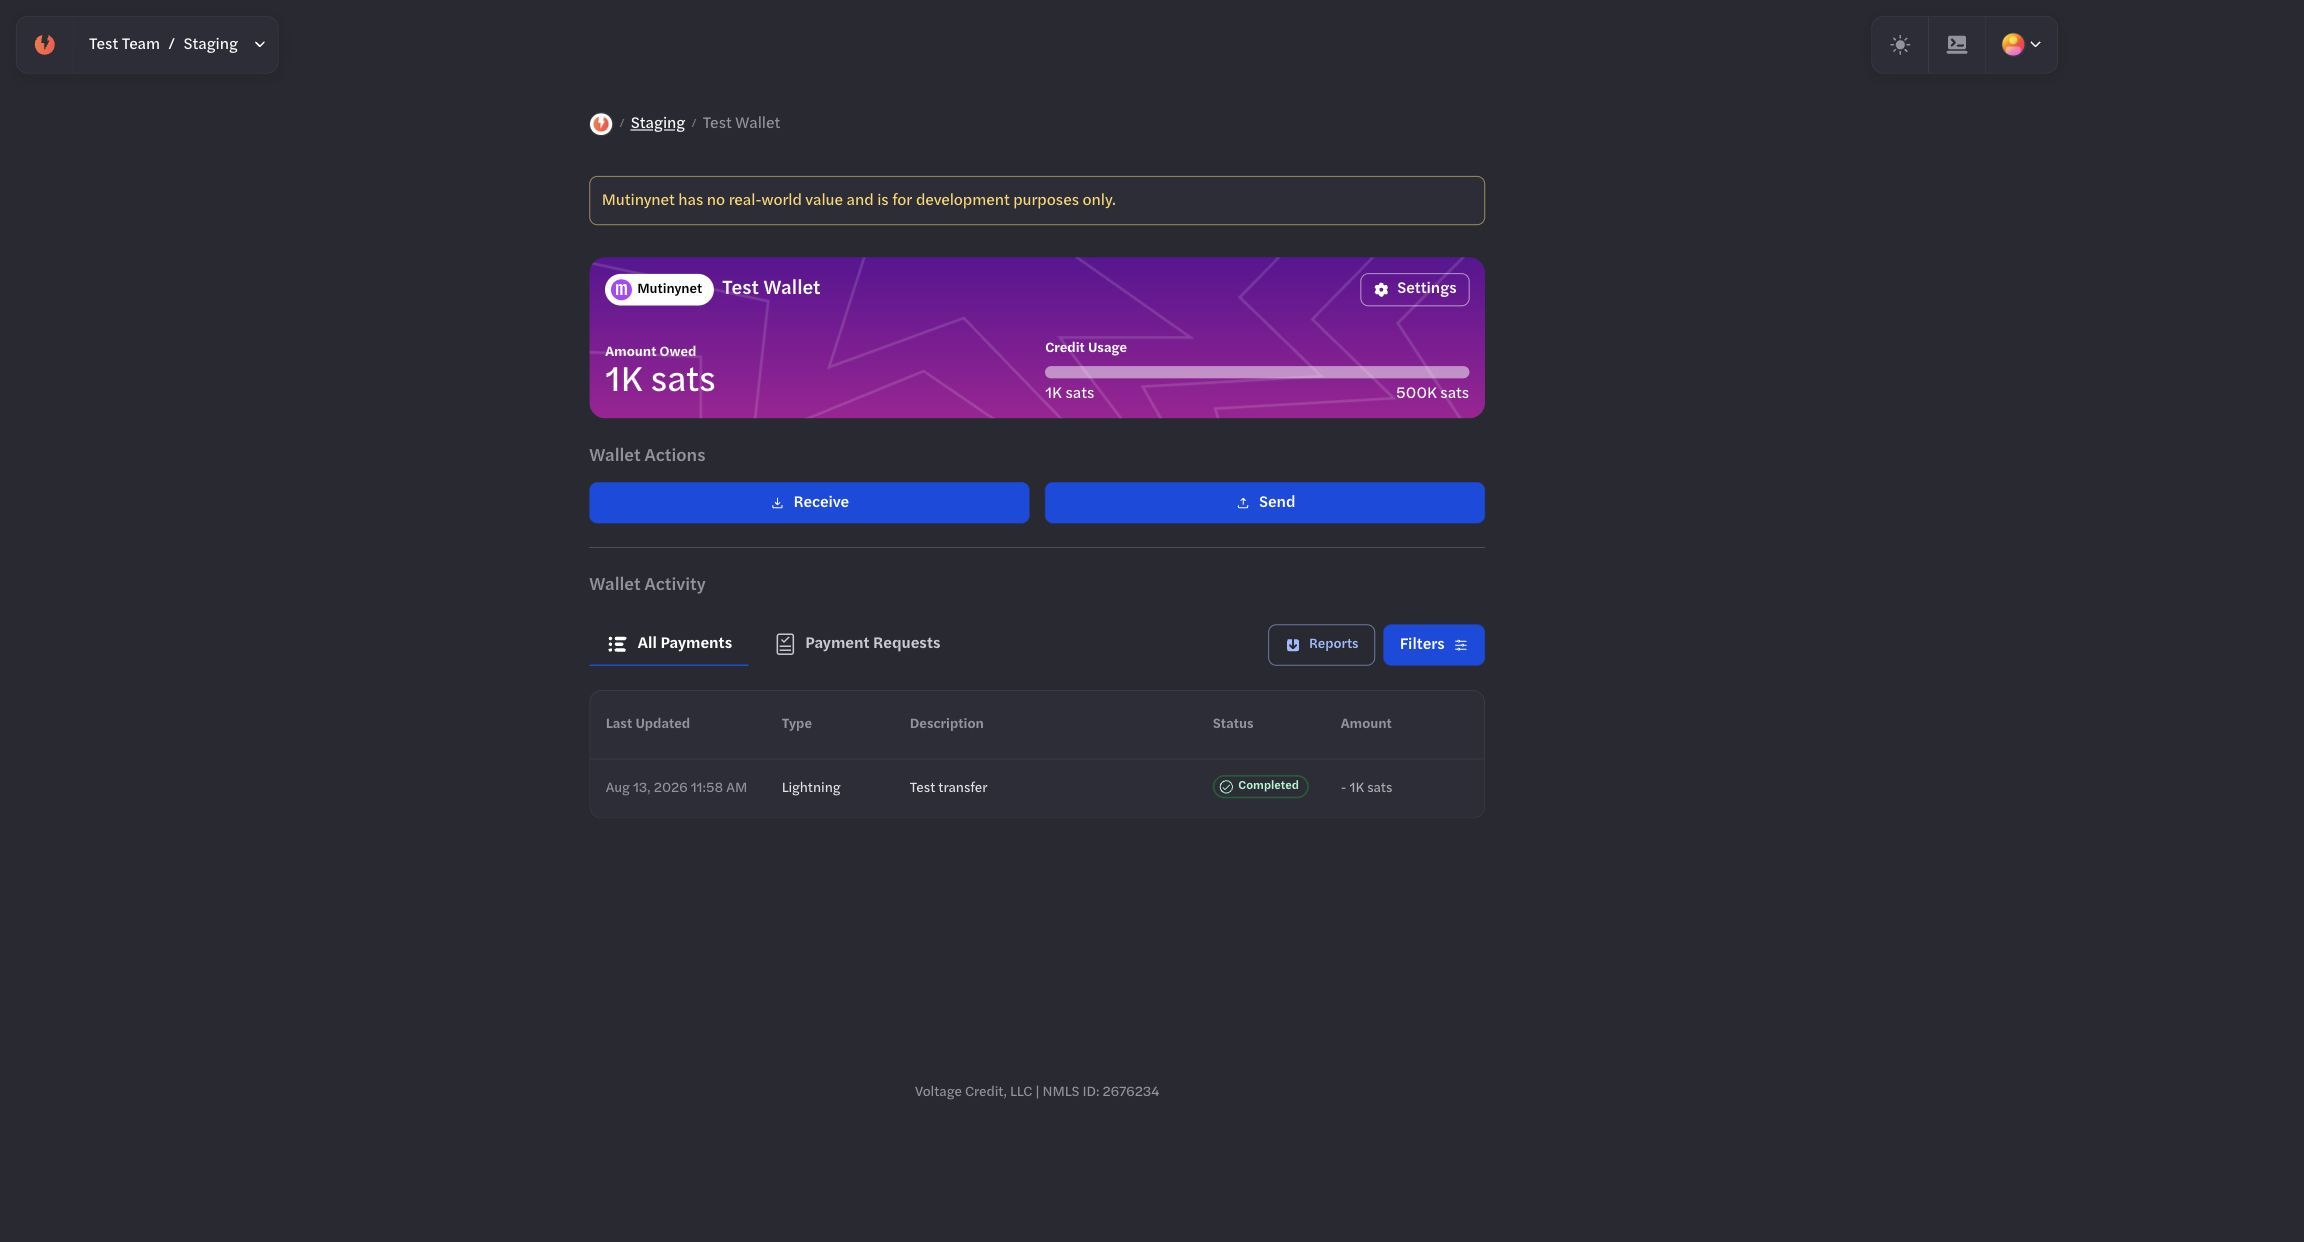
Use the sending wallet's history to confirm the outgoing terminal state.
Cross-check the corresponding incoming state in the receiving wallet.