Staging Environment
Staging Environment
Use a staging environment to build and test a Payments integration without moving real funds. Keep staging wallets, credentials, webhook destinations, and test data separate from production.
Getting started
- Create or open a staging environment in the Voltage dashboard.
- Add a Development wallet using the currency required by your test.
- Wait for the wallet overview to load.
- Create an environment-scoped API key with the minimum required permissions.
- Store the one-time key value in an approved secret manager.
Choose the Development wallet that matches the implementation being tested:
- Mutinynet Bitcoin: Bitcoin-backed implementations, including node-backed Bitcoin and credit-backed Bitcoin.
- Mutinynet USD: USD line-of-credit implementations that move payments over Bitcoin or Lightning while using a USD denomination.
- Voltage Cash: Experimental stablecoin testing only. It is not currently live for production use because the intended Tether-backed asset has not yet been minted.
Development balances have no real-world value.
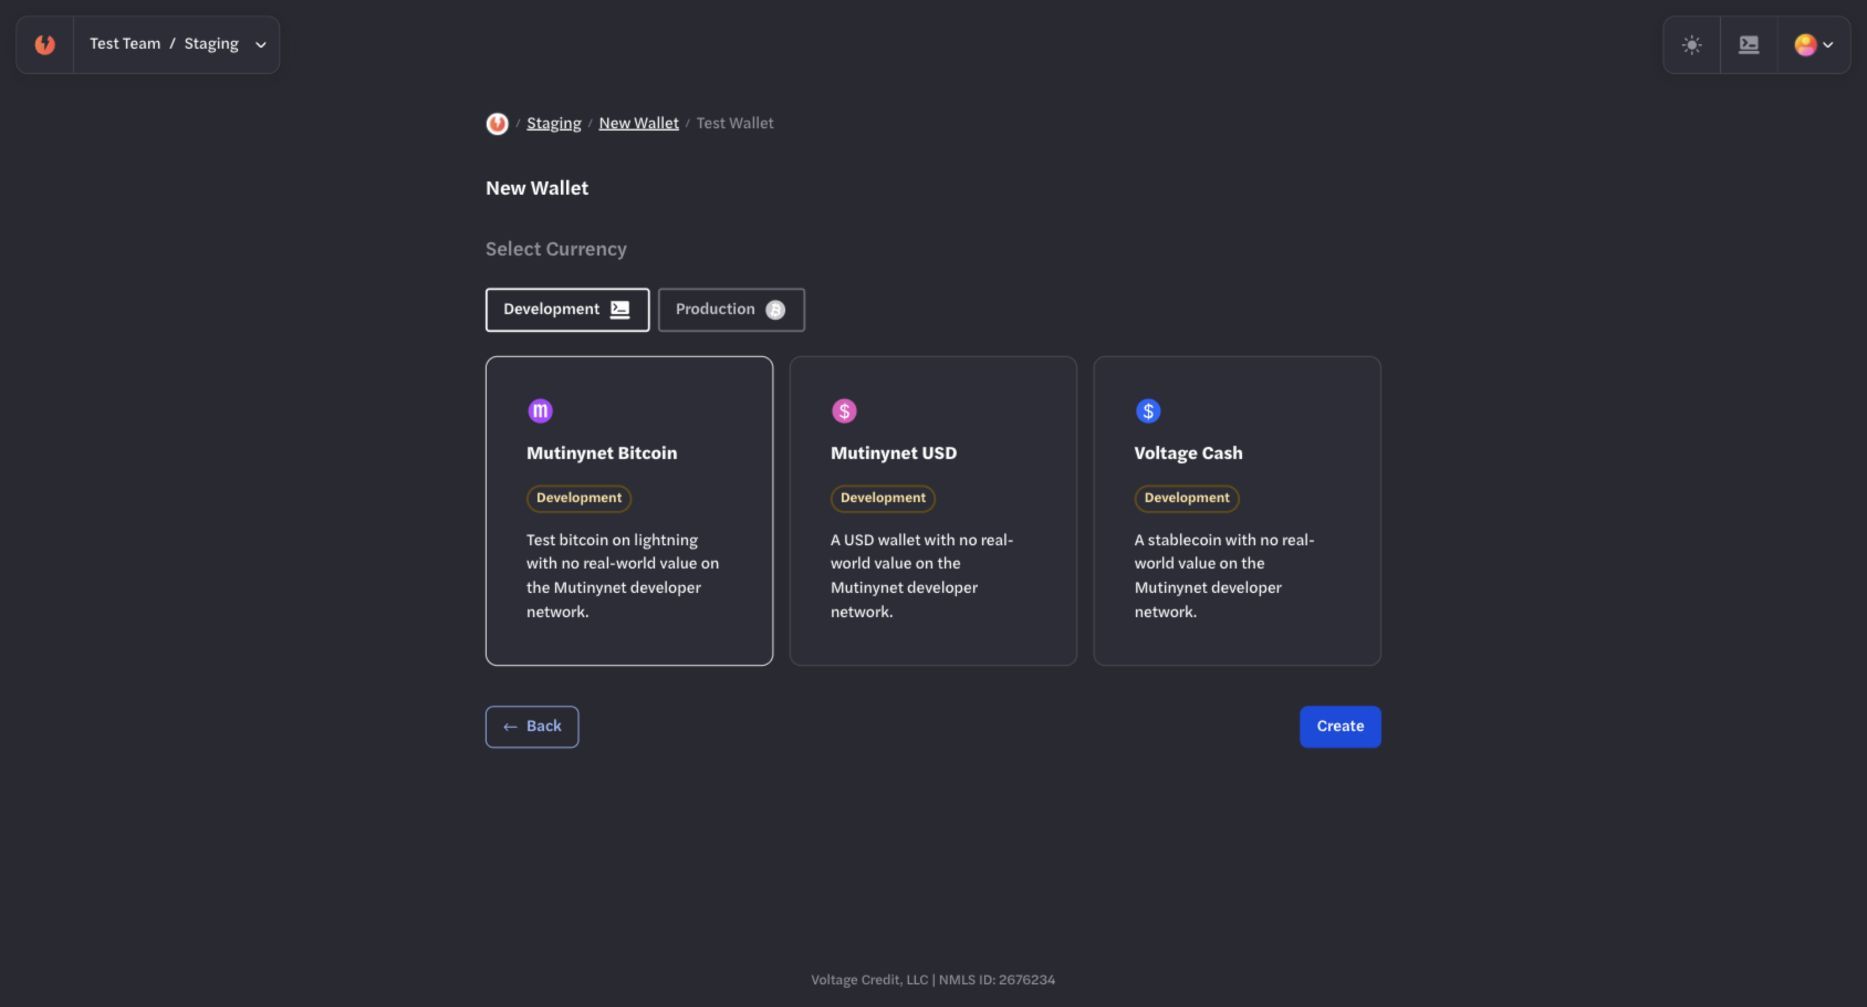
Choose Mutinynet Bitcoin for Bitcoin-backed tests, Mutinynet USD for USD line-of-credit tests, or Voltage Cash only for experimental stablecoin testing.
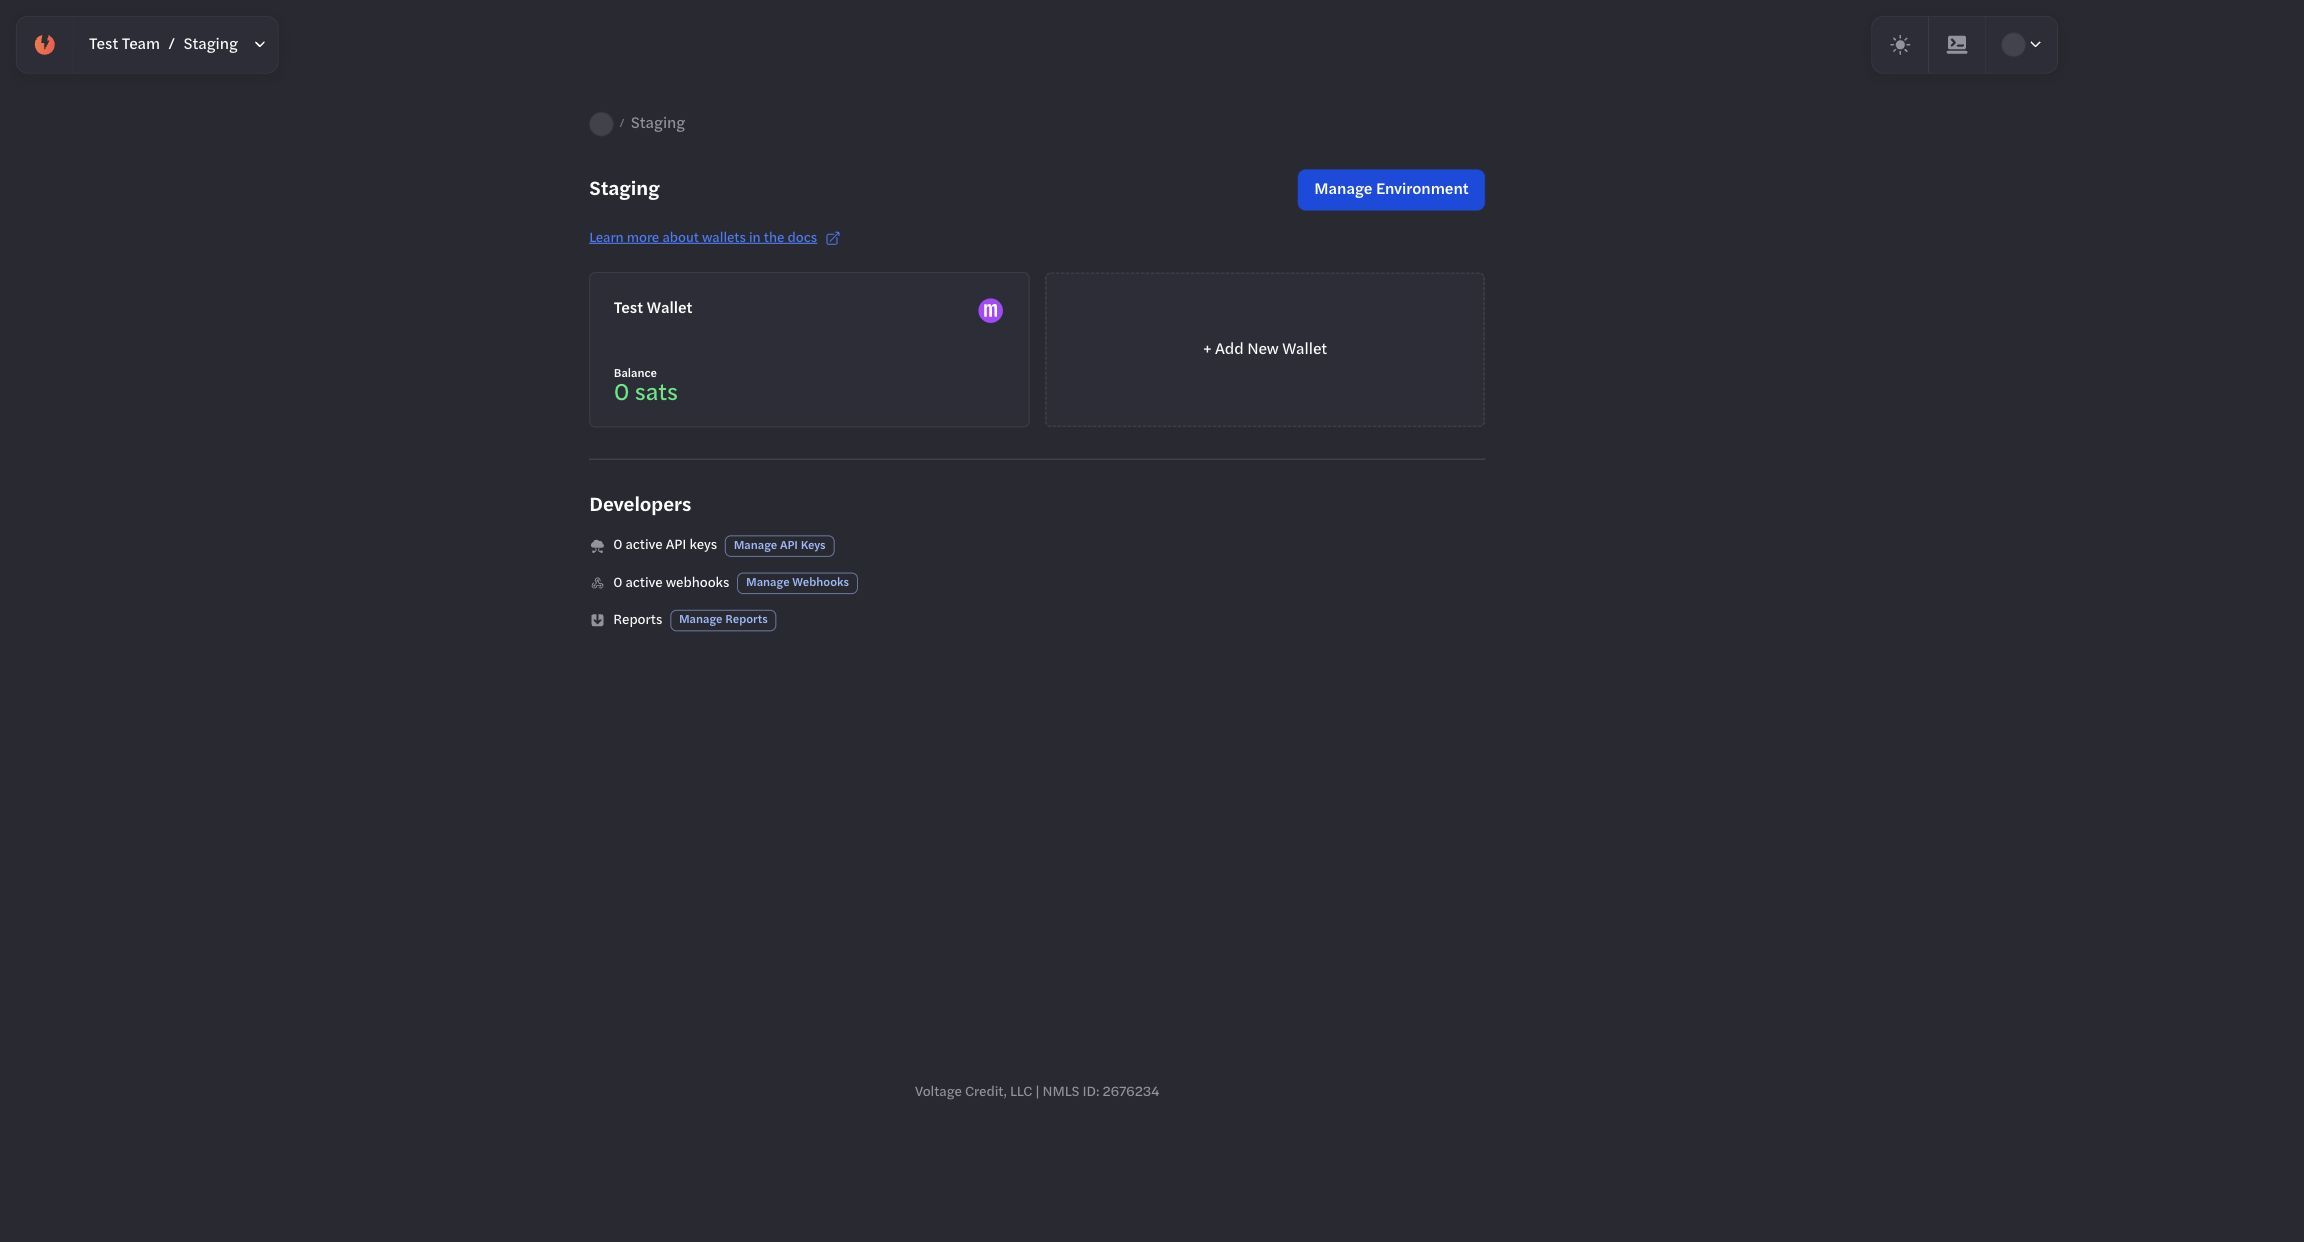
Keep test wallets and their credentials inside the staging environment.
API access
Base URL
https://voltageapi.com/v1Authentication
Send the staging environment's key in the x-api-key header. Do not reuse a production key in staging or a staging key in production.
Create a staging wallet through the API
Use current organization, environment, and funding identifiers returned by the Payments API. The following request shows the route shape; verify the request schema in the Voltage Payments APIVoltage Payments API reference before sending it.
curl 'https://voltageapi.com/v1/organizations/{organization_id}/wallets' \
  --request POST \
  --header 'content-type: application/json' \
  --header 'x-api-key: YOUR_STAGING_API_KEY' \
  --data '{
    "environment_id": "{environment_id}",
    "id": "{client_generated_wallet_id}",
    "line_of_credit_id": "{line_of_credit_id}",
    "limit": 100000000,
    "name": "Staging Wallet",
    "network": "mutinynet"
  }'
Wallet creation is asynchronous. Treat an accepted response as the start of provisioning and read the wallet state before depending on it.
Test payments
Send
- Create a test payment request in another Development wallet or approved test wallet.
- Enter the request in the staging wallet.
- Review the amount, maximum fee, method, route, and truncated destination.
- Submit the payment and wait for a terminal status.
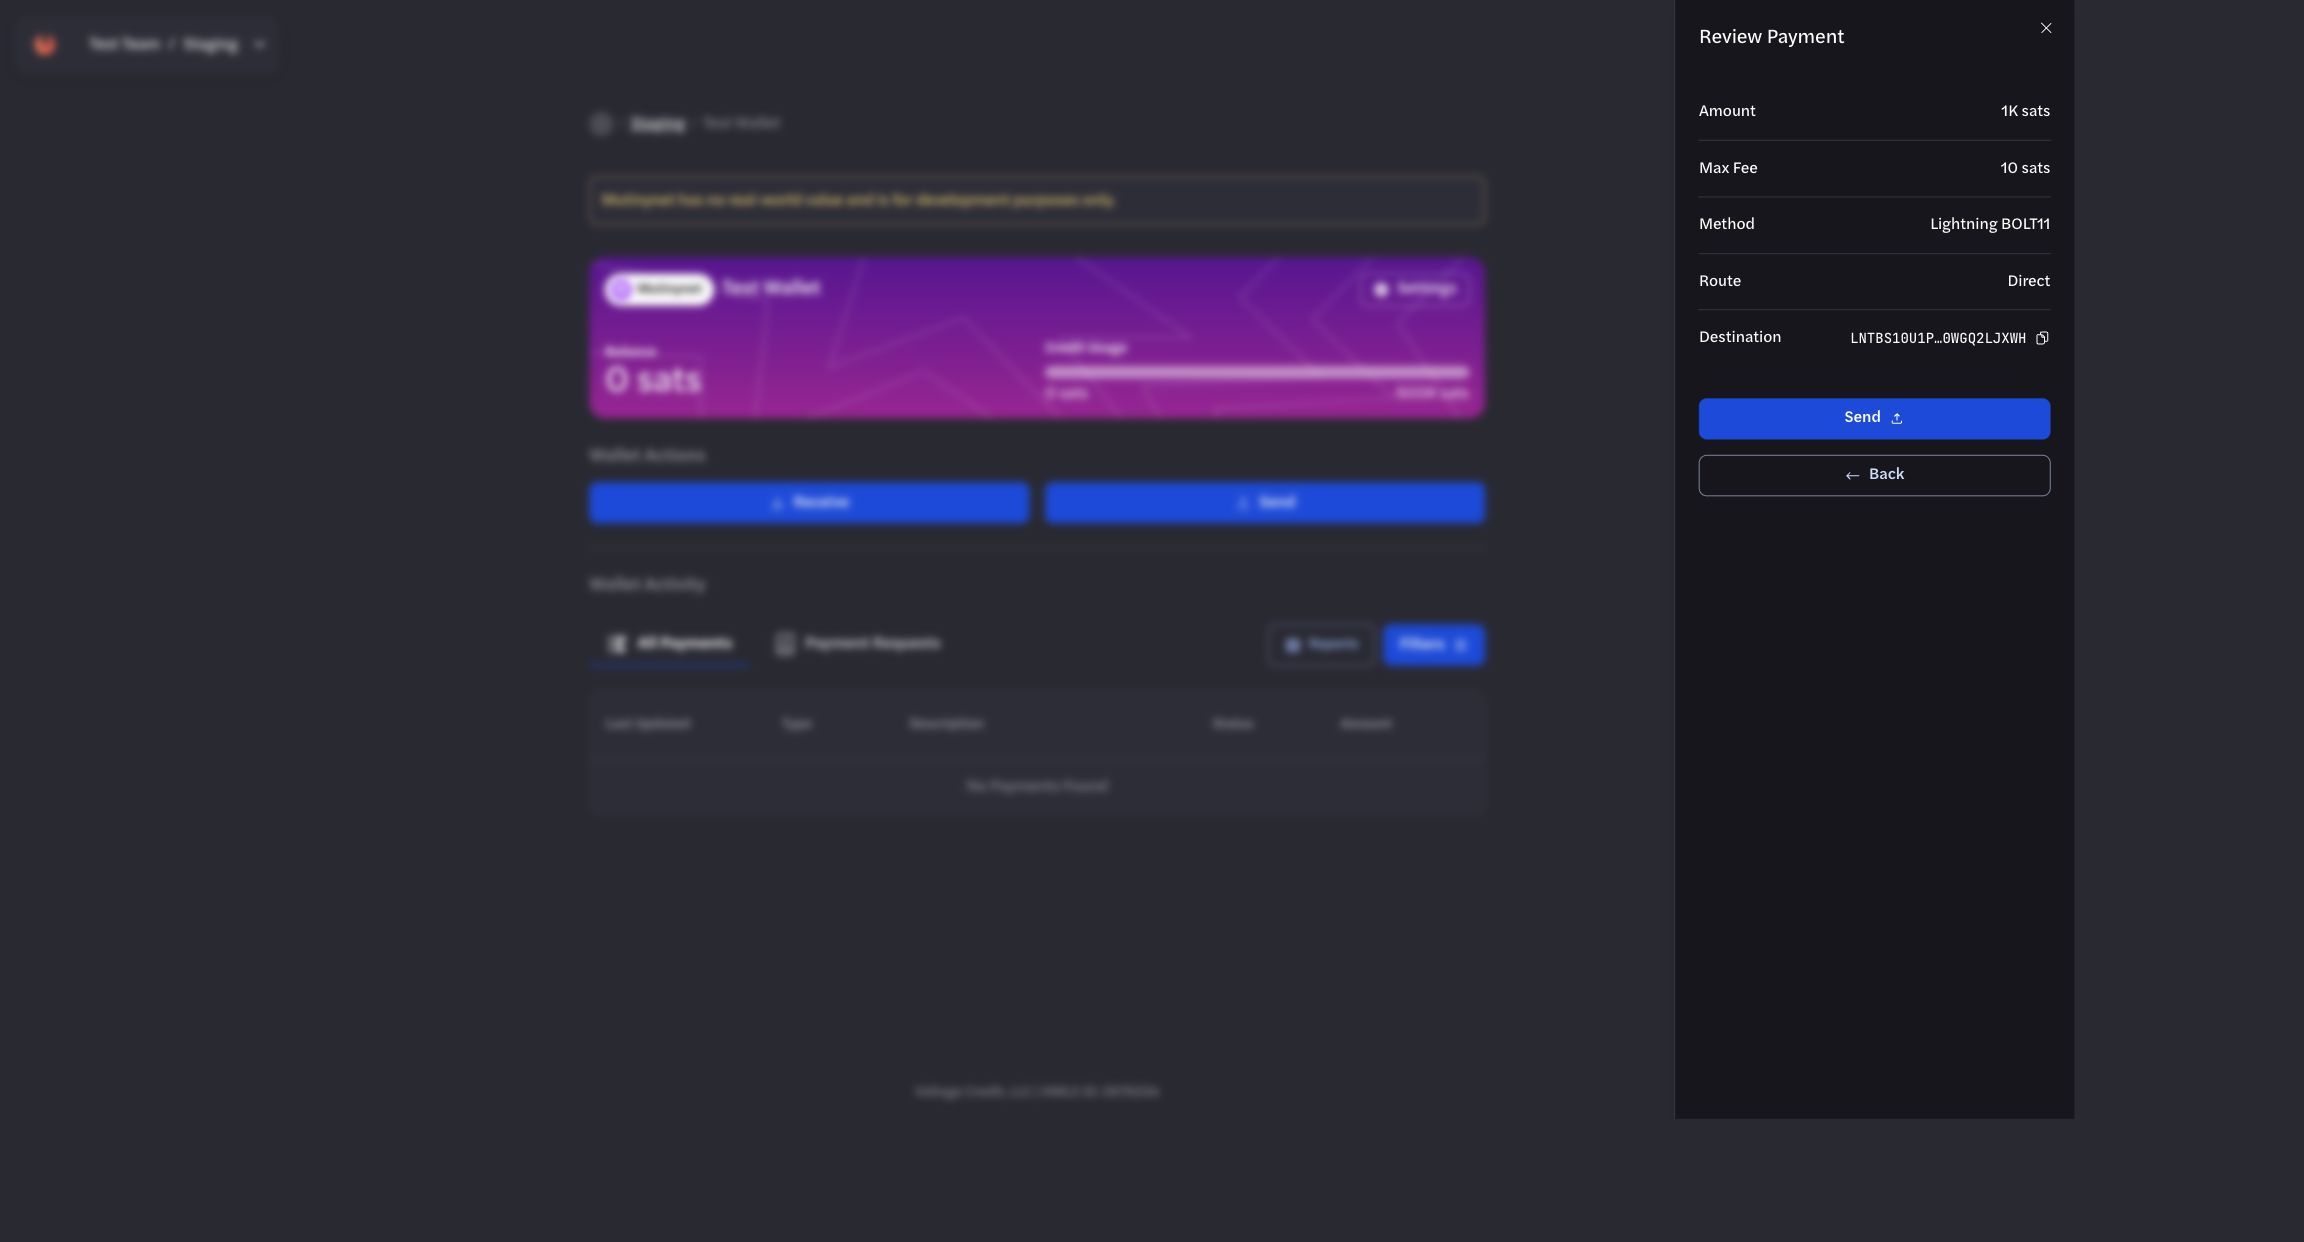
Review the test payment details before submitting it.
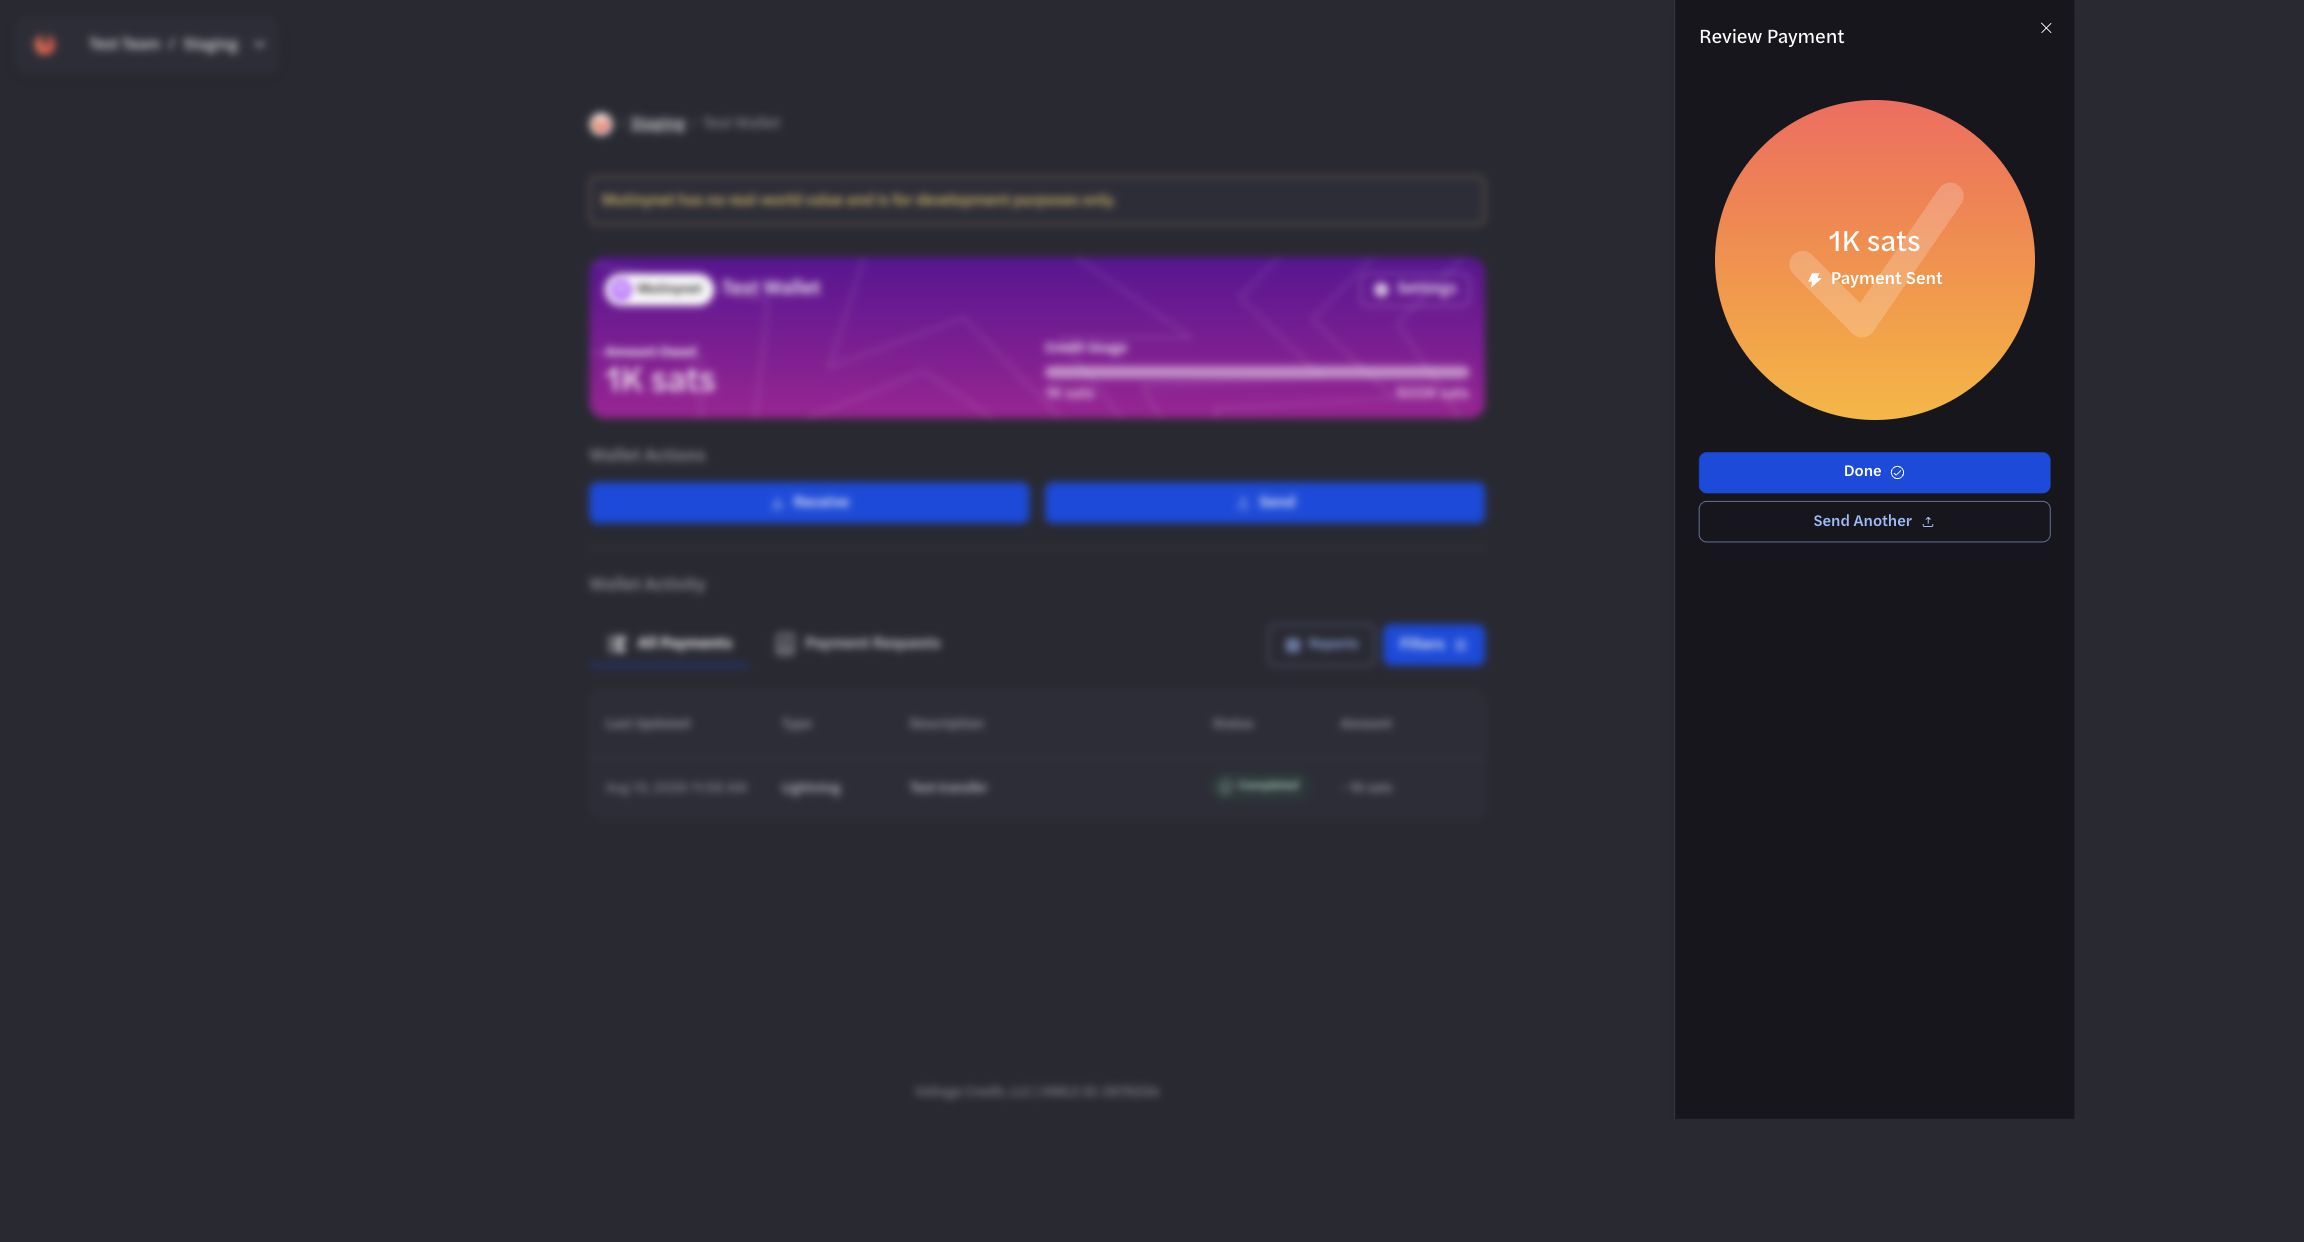
Wait for the final result before treating the staging payment as complete.
Receive
- Select Receive.
- Enter a test amount and optional memo.
- Select Create Payment Request.
- Use the request only in a test workflow.
- Confirm the incoming payment in All Payments.
Verify status and history
- Treat accepted or generated states as non-terminal.
- Confirm the final payment status before fulfilling an order or updating an external ledger.
- Use webhooks for event-driven updates and API reads for reconciliation.
- Use payment filters and reports when investigating a test flow.
Do not rely on fixed settlement timing, fixed test-credit amounts, or automatic credit expansion. Current limits and availability are product-controlled and can change.
Move to production
- Complete the staging integration and failure-path tests.
- Create or obtain the intended production environment and wallet.
- Create new production API keys and webhook registrations.
- Update the application configuration without carrying over staging credentials or identifiers.
- Run a controlled production verification with current operational approval.
Never use the Mutinynet workflow as evidence that Mainnet funding, limits, fees, or settlement behavior will be identical.